Introduction:
A VPS Backup, or Virtual Private Server Backup, is a way to protect the data and settings on your virtual server. Imagine your virtual server as a computer that exists on the internet, where you run websites, apps, or store important information. Just like you back up your personal computer to prevent data loss, you also need to do the same for your virtual server.
Why Backups are Important?
Sometimes, things can go wrong with your VPS. It could crash, get hacked, or experience other issues. If you don't have backups, you could lose all your data and settings, which can be a big problem, especially if you rely on your VPS for important tasks.
How do Backups work?
VPS backups are like taking snapshots of your VPS at a specific point in time. They capture all the files and configurations on your virtual server. If something bad happens, you can use these backups to restore your VPS to a previous, working state, just like restoring a saved game in a video game.
Backup services for VPS typically run automatically at scheduled times, making copies of your VPS data and storing them in a safe place, often in a different location or on a separate server. This ensures that even if your VPS itself has problems, your backups remain intact.
In today's tutorial, we will dive into how we can create a Backup on PetroSky Servers and Restore them.
Backups Collector Feature:
Here at PetroSky, we offer a paid Backups feature, allowing you to create Backups and Restore them either on the VPS that has been used to create backups, or a newer VPS. But they must have the same plan!
It is required to enable the Backups feature as an option in order to use it. So first, we will go through these steps:
Step 1:
Go to the Client Area (Direct Link) and Login. Navigate to 'Manage Products' and select your VPS.
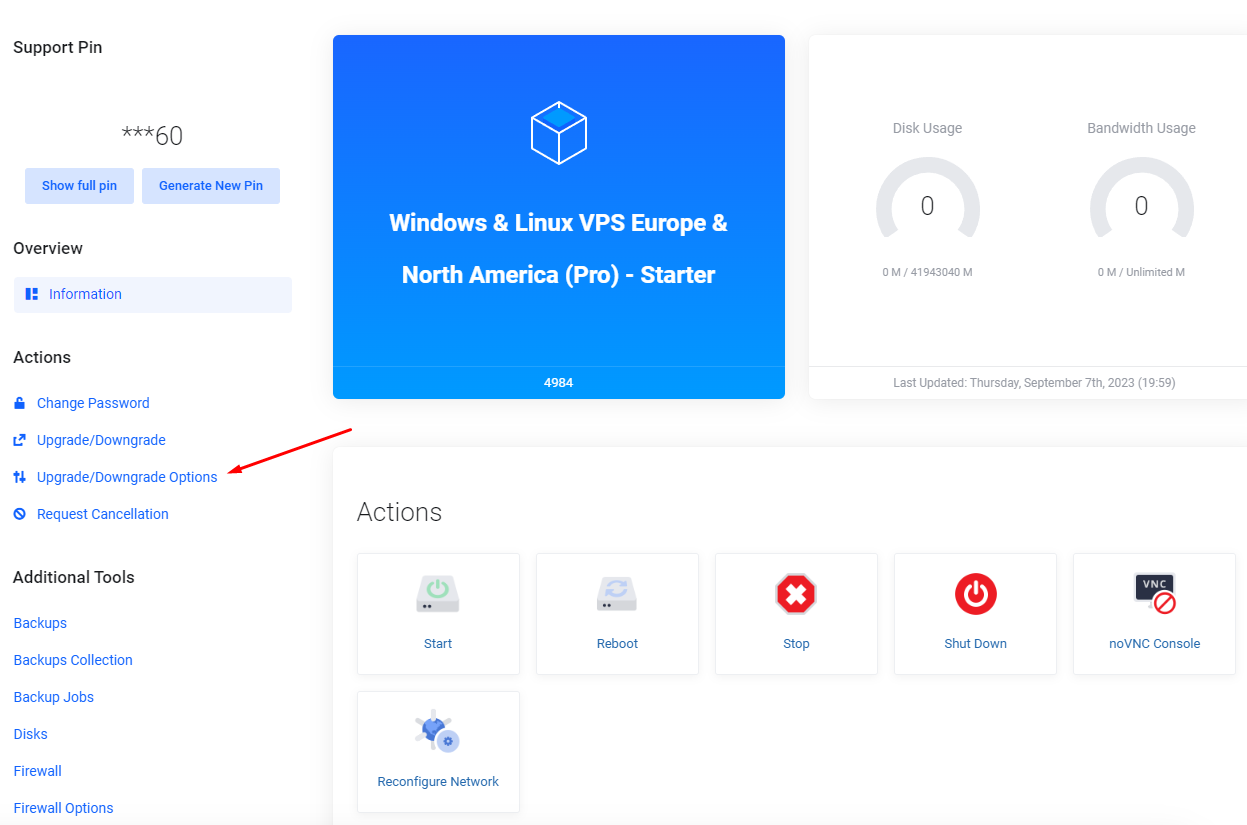
Step 2:
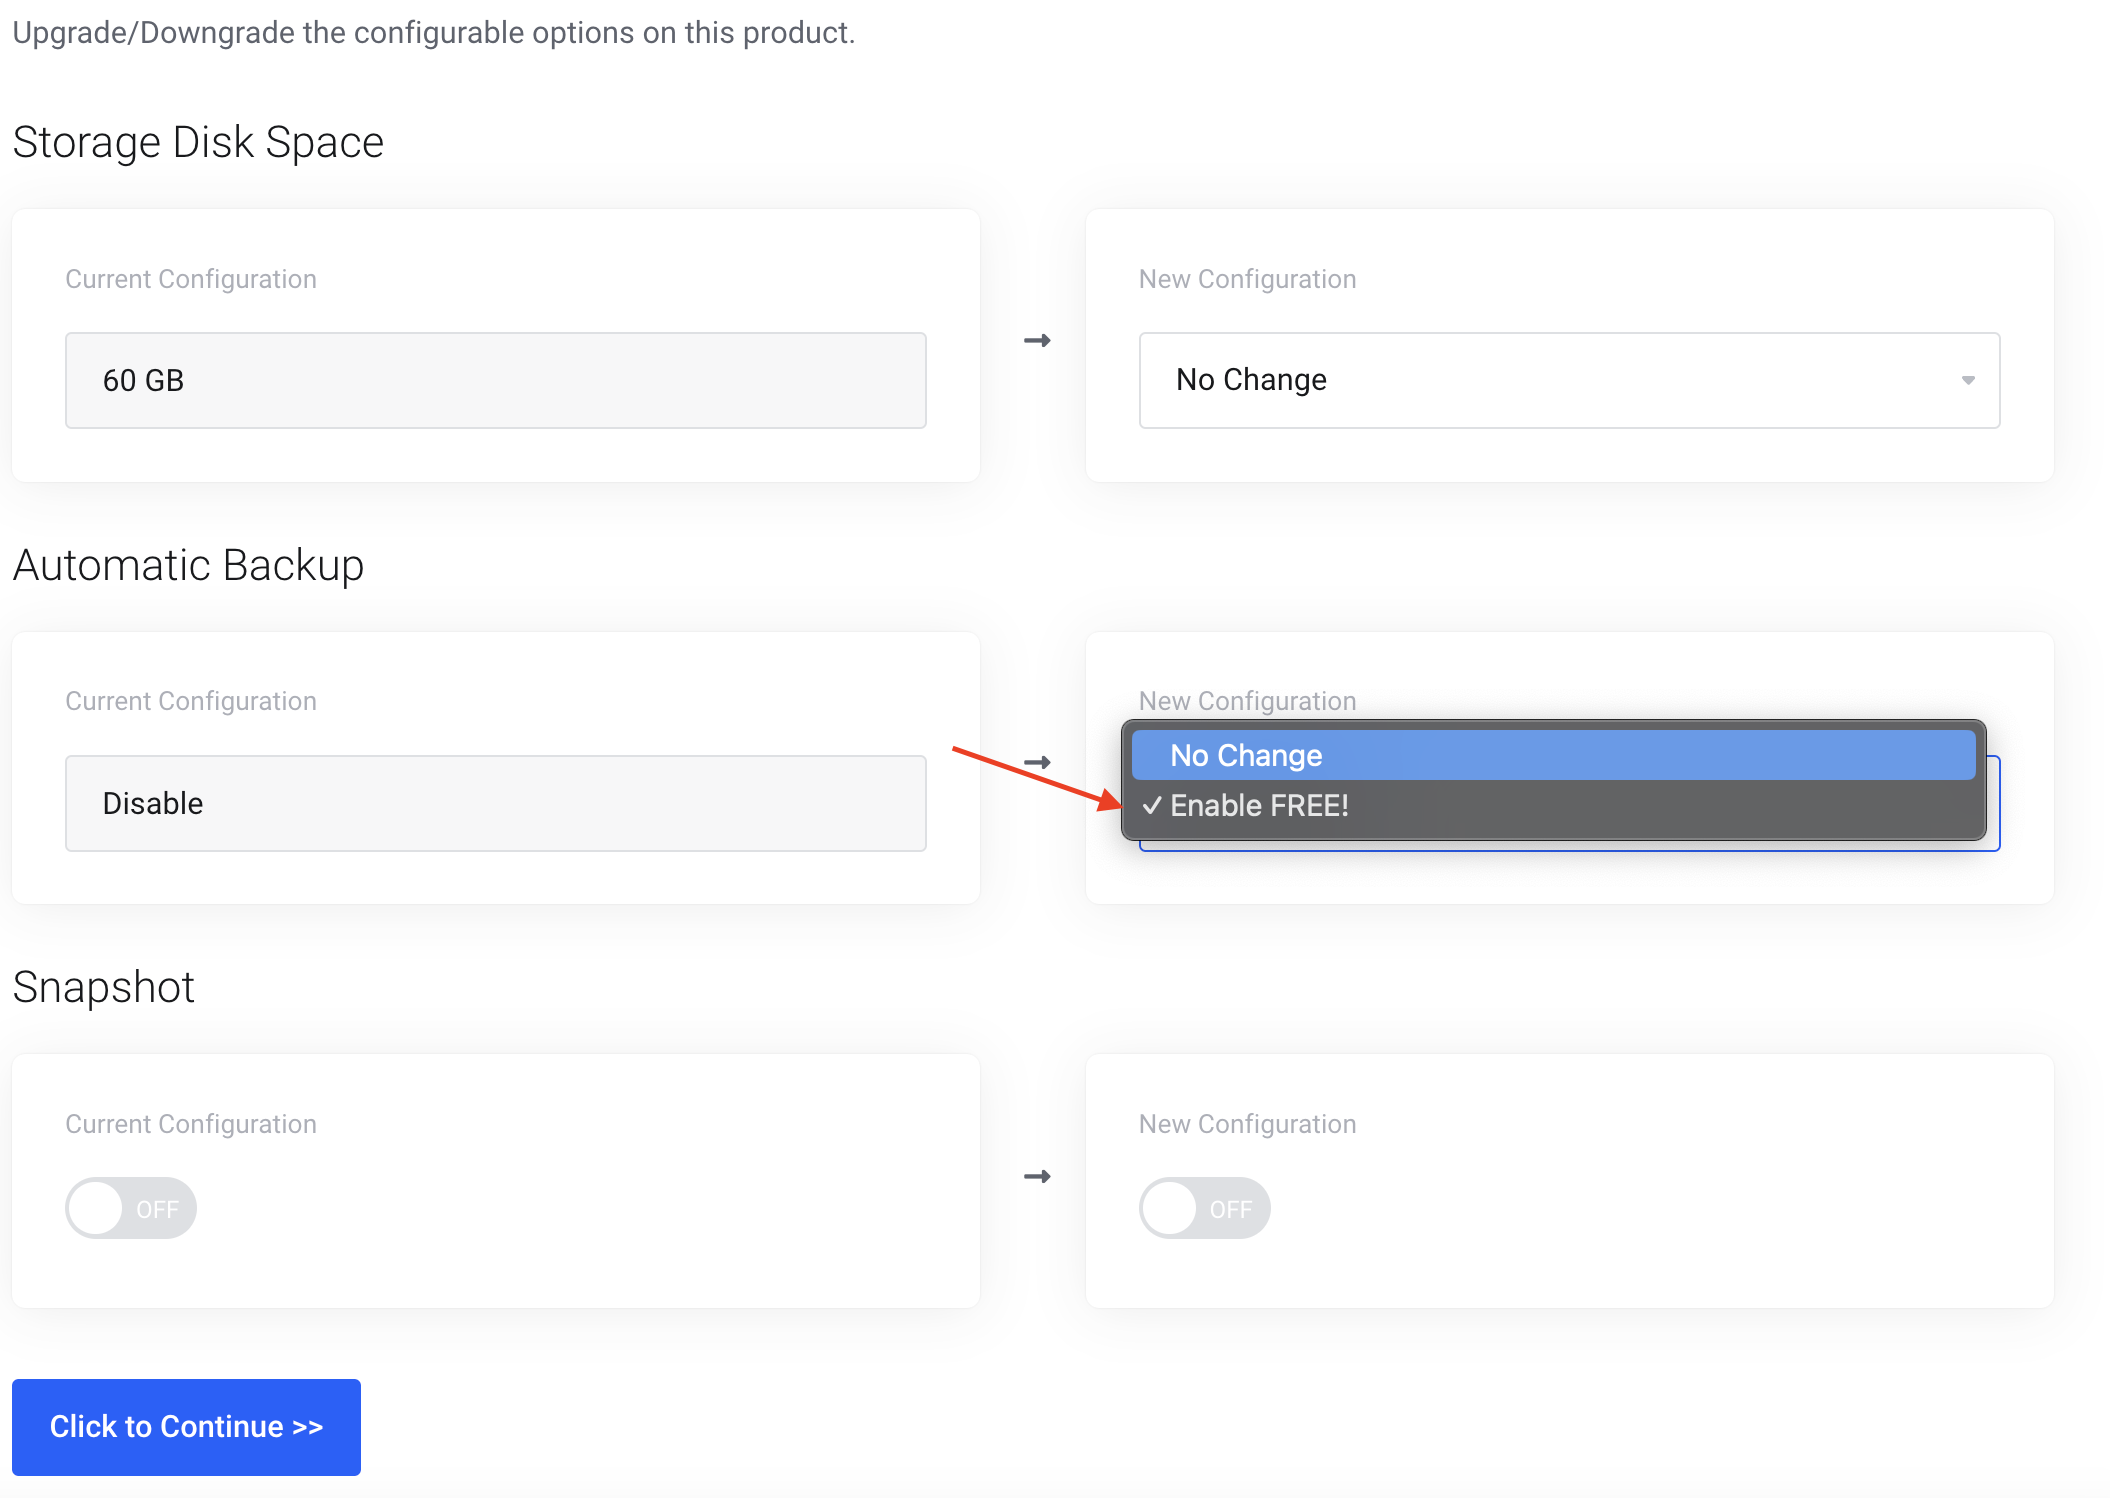
Go to Upgrade/Downgrade Options on the Left Side of the Menu. And change the Automatic Backup from Disable to 'Enable'.
Step 3:
Navigate to the Control Panel after paying the amount. And select your VPS. Then go to Backups
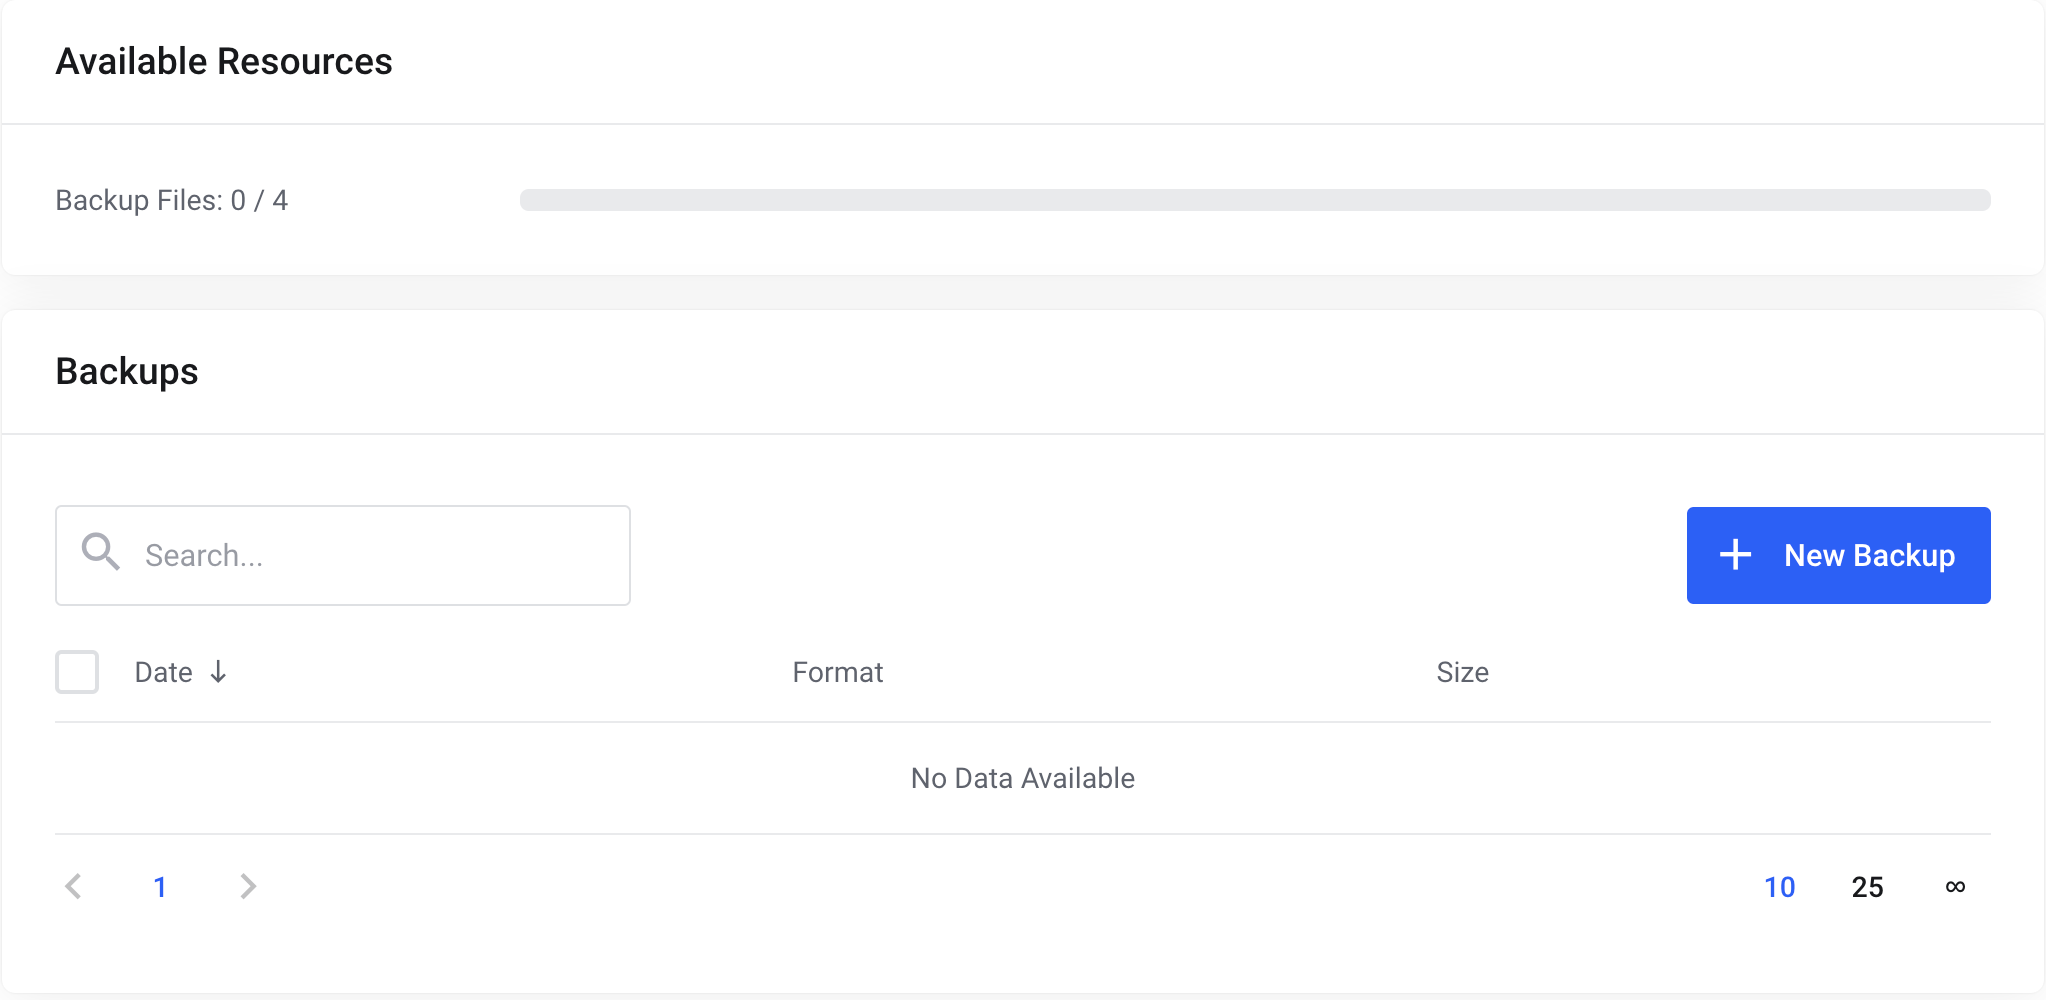
Step 4 (Creating the Backup):
Add a backup and make sure to adjust the settings of your need. Usually ZSTD is the better compression overall.

Step 5:
After creating the Backup. Navigate Back to the Control Panel and click on Backup Collections
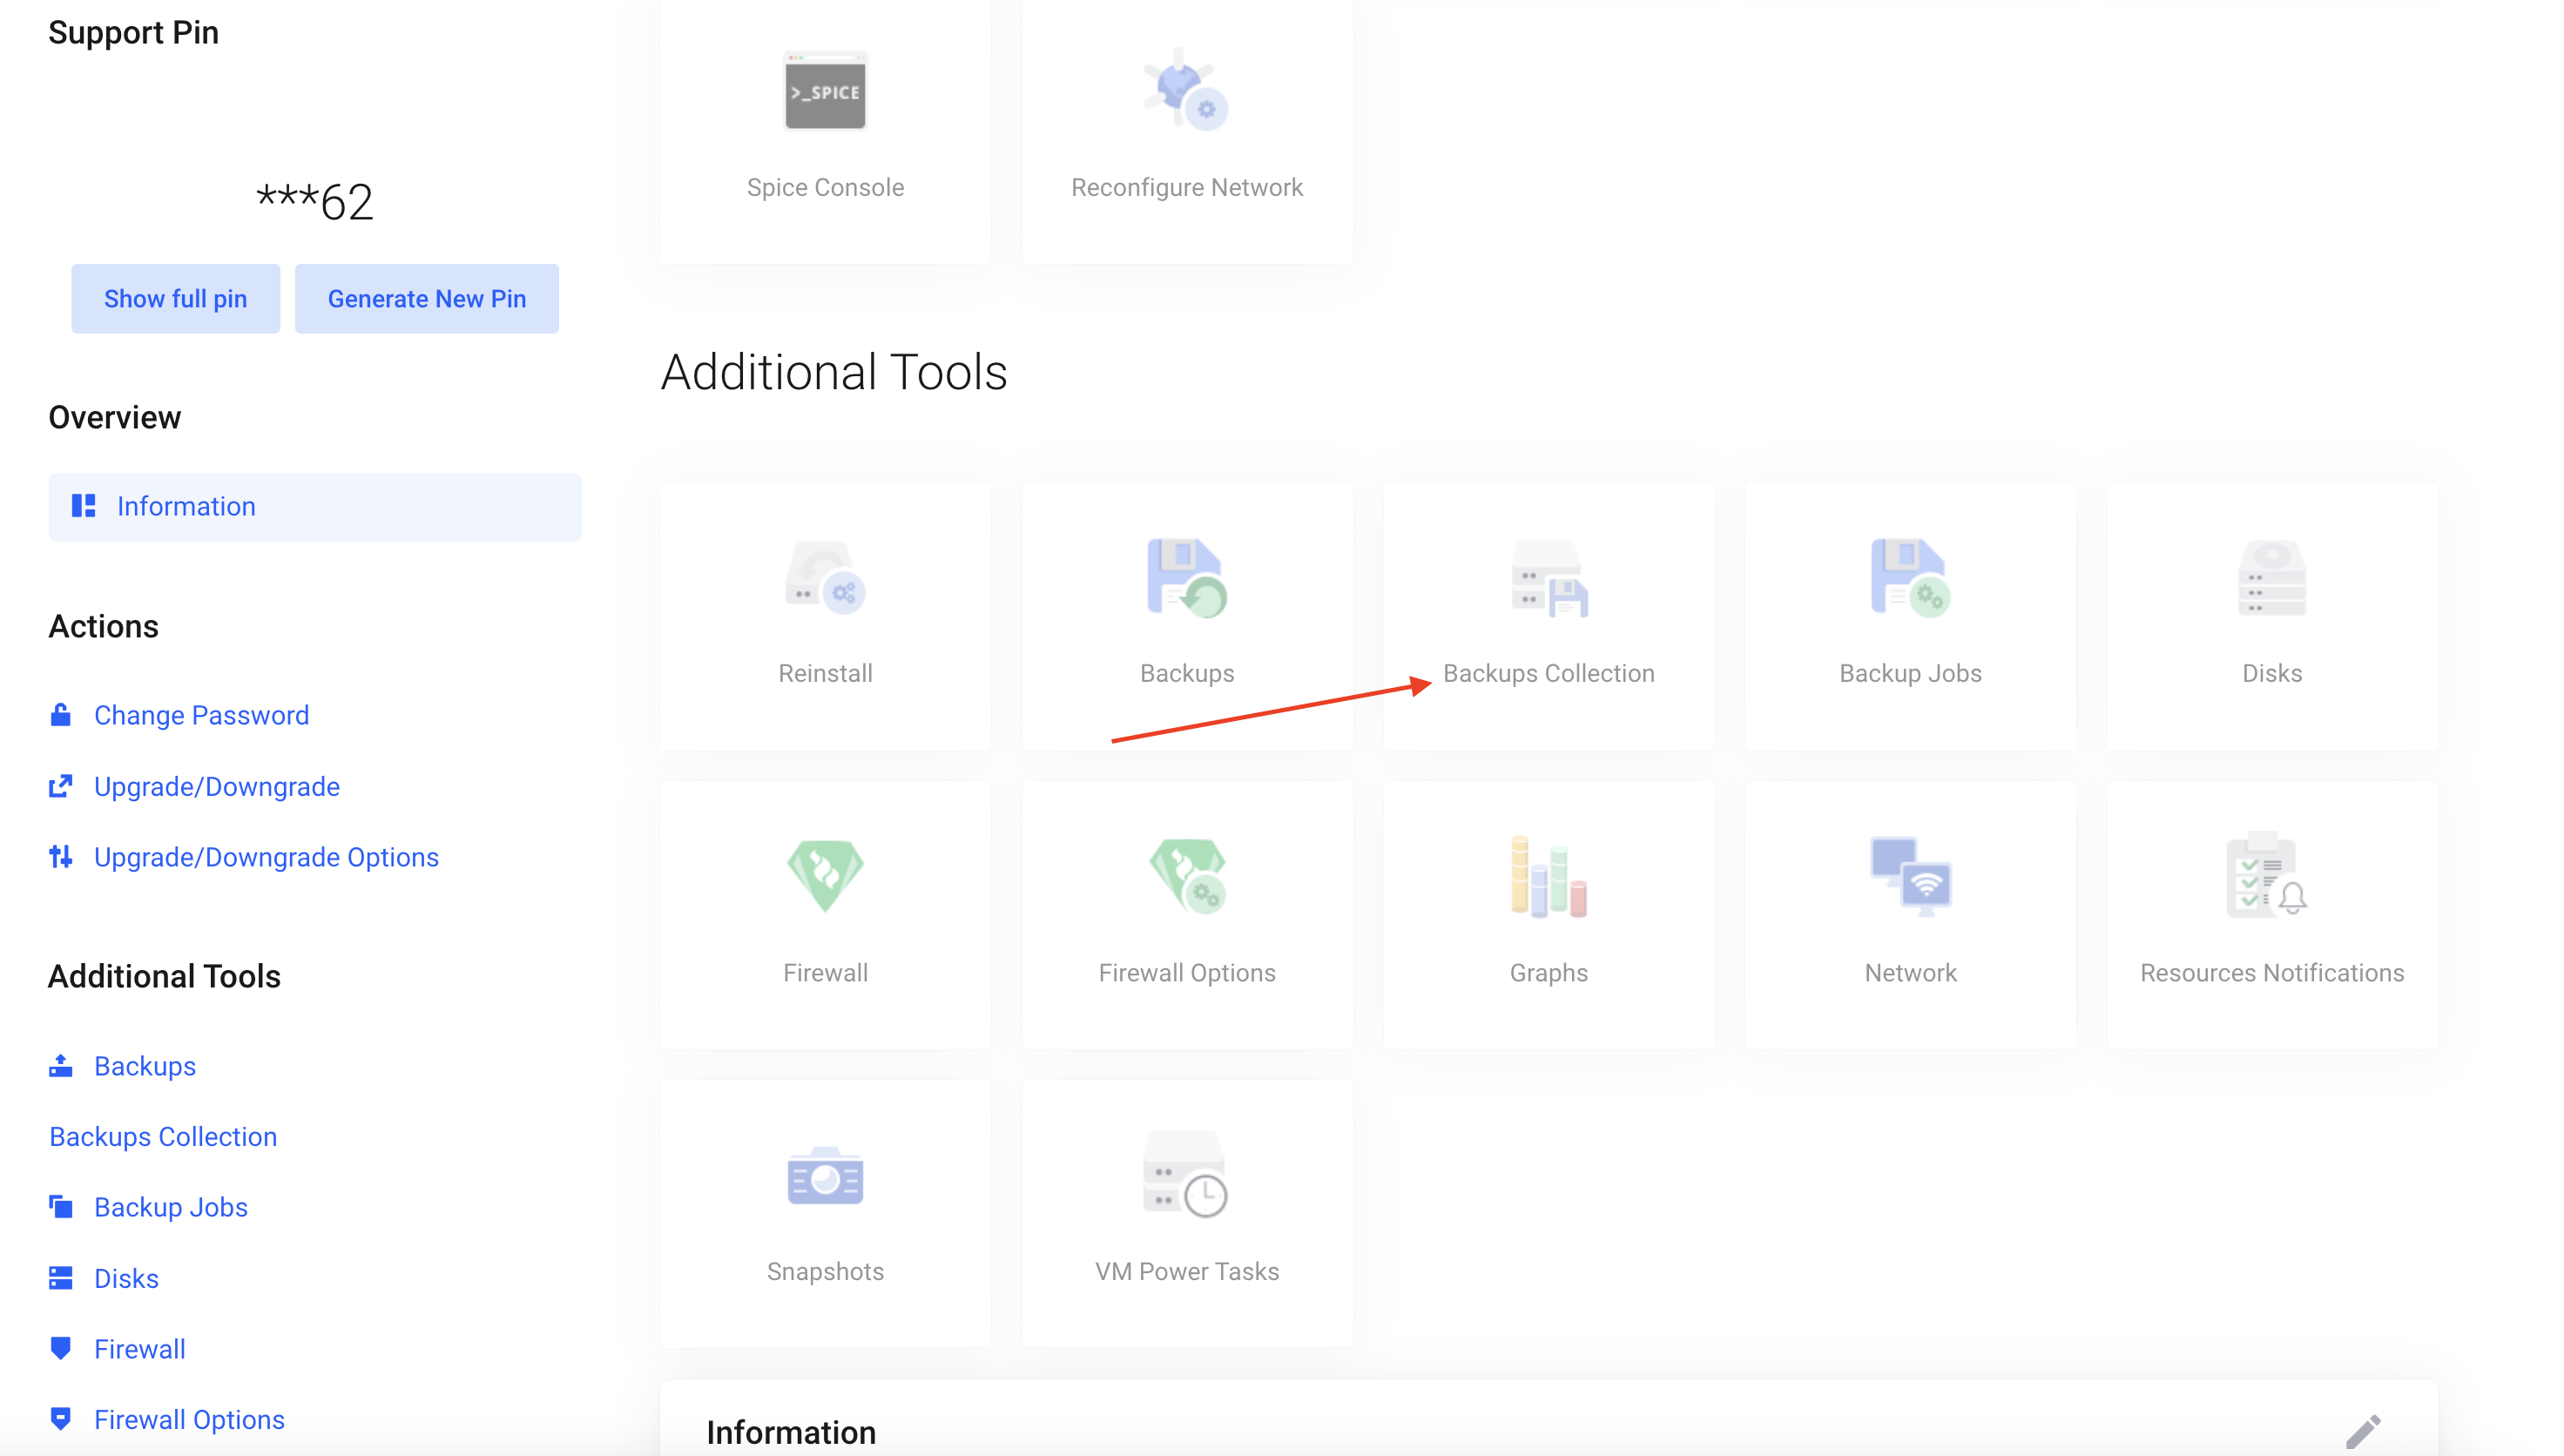
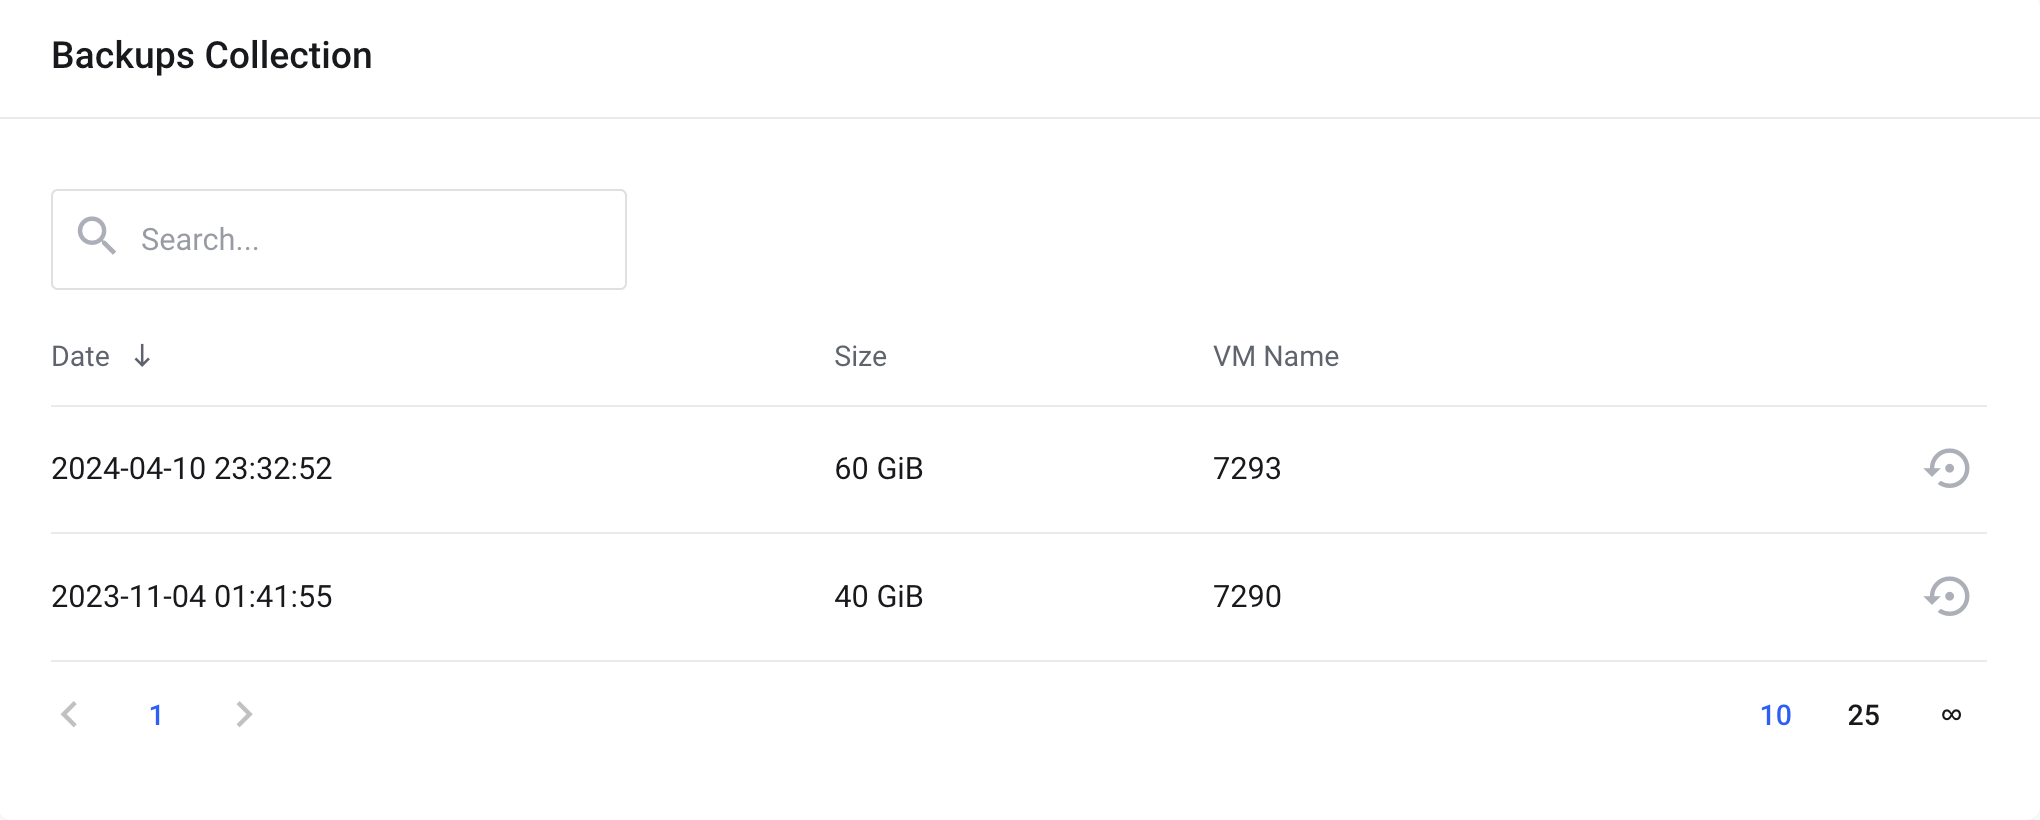
Step 6 (Restoring Backups):
Here you will find all the backups listed, to restore a backup just click on the Restore Icon to begin Restoring the Backup.
PSA: You can restore the backup on another VPS but it must have the same Plan as the VPS used to create the backup!
Conclusion:
Finally. We have seen how to Create/Restore Backups using the Backup Collector Feature. Backing-up servers is important and would save many cases.


